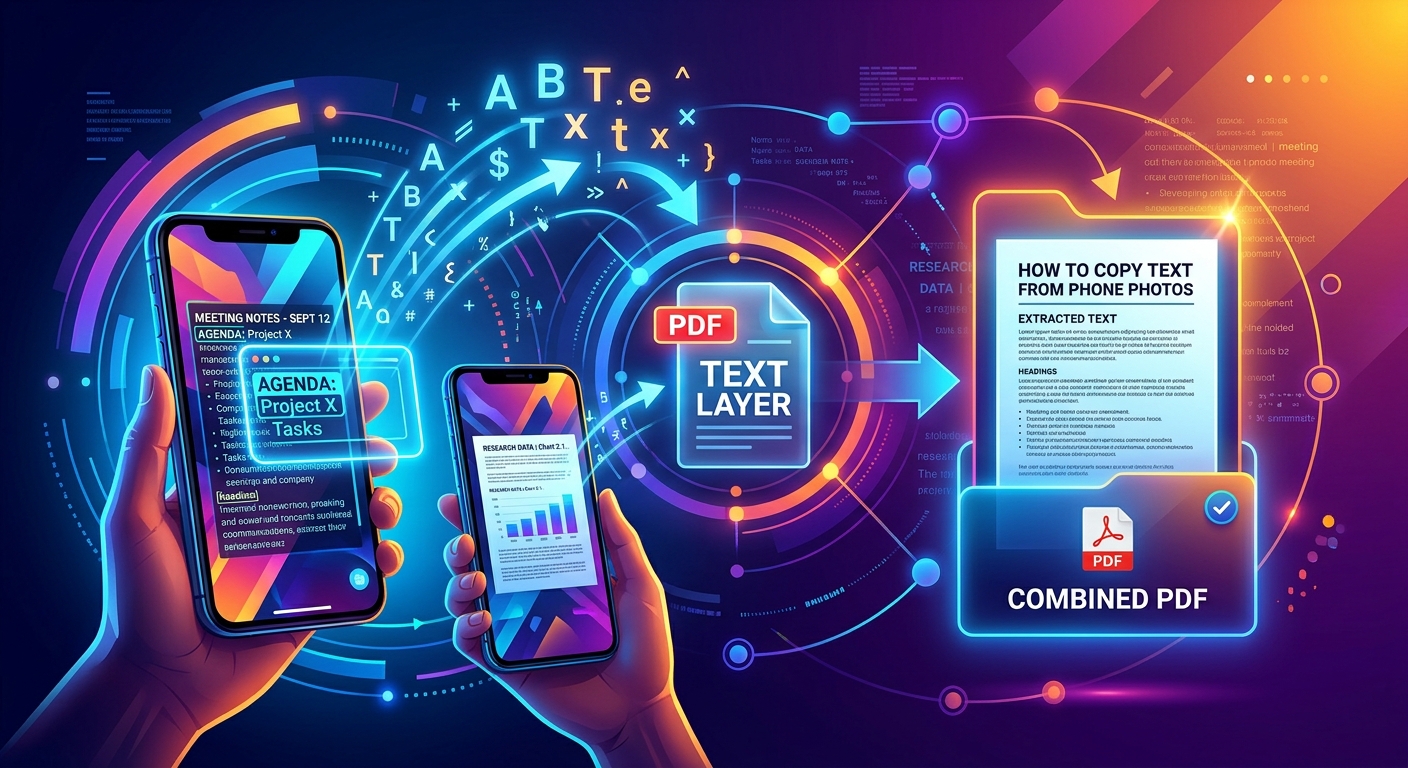
The receipt is readable on your phone, but copying its total into an expense report means typing every digit yourself. A handwritten note has the same problem. You can send the photo, yet the person receiving it may still need to retype the information. Preparing your photos, copying the text you need, and then combining the images into a PDF gives you a useful way to handle both jobs.
Your Photo-to-PDF Plan: Start with clear, complete photos. Copy any wording or numbers you need while you can still check each image closely. Review the extracted text against the original, especially totals, dates, and reference numbers. Then arrange the photos and combine them into one PDF. Keep the copied text separately unless your chosen tool explicitly adds a searchable text layer. A PDF made from photos alone still contains pictures of text.
Decide What You Need From the Photos
Before editing anything, think about the task waiting at the other end. An expense claim might require a PDF of receipts plus totals entered into a form. Class notes might need a shareable document and a few paragraphs copied into a study sheet. A completed application might need a readable PDF while its reference number goes into an email.
These tasks have two separate outputs. One is the visual record, which preserves the appearance of the receipt, note, or form. The other is editable text that you can paste elsewhere. Knowing which parts you need to copy helps you avoid processing every word unnecessarily.
Keep the original photos until you have checked both outputs. They give you a reference if a number looks wrong or a page gets cropped too closely.
Prepare Photos That Are Easy to Read
A clear image helps both the person reading your PDF and the software attempting to recognize its text. Start by opening each photo at a comfortable size. Check that the whole document is present, including its edges, totals, signatures, and any writing near the bottom.
Fix Lighting and Camera Position
If you can retake a photo, place the document on a flat surface in even light. Hold the phone above it with the camera facing the paper straight on. A steep angle can make one end of a line much smaller than the other.
Move away from glare, particularly with shiny receipts or forms inside plastic sleeves. Avoid casting your own shadow over the page. Tap the text on your screen to focus, then hold still while taking the shot. Check the result before putting the paper away.
Crop and Rotate With Care
Trim away unrelated background, but leave a small margin around the document. Tight cropping can remove the first digit of a date or the end of a handwritten line. Rotate sideways photos so that every page reads upright.
Use brightness or contrast adjustments gently. A filter that makes dark headings look crisp may erase faint receipt printing. Check the lightest text after any adjustment. If it disappears, return to the original or take another photo.
Put the Images in Their Final Reading Order
Arrange the photos before extracting text or creating the PDF. For receipts, date order may make reviewing expenses easier. For notes, follow the lesson or page sequence. For forms, keep the original page order, including instruction pages if the recipient needs them.
Remove accidental duplicates after comparing them. Two similar photos may show different details clearly, so choose the image with the most readable content. For a long receipt photographed in sections, include a little overlap and keep those sections together.
Simple filenames can help when an upload window sorts images alphabetically. Names starting with 01, 02, and 03 keep a longer set in a predictable sequence. Still check the converter’s preview, because its initial order may differ from your folder view.
Copy the Text Before Creating the PDF
Once the photos are ready, extract the information you want to reuse. Text recognition, often called OCR, attempts to turn letters and numbers in an image into editable characters. Its results depend on the image and the writing it contains. Faint print, handwriting, and cramped layouts can need extra correction.
Your phone may already offer a text selection feature inside its photo viewer. If it does, select the relevant passage and copy it into a note or document. If you need another option, photo to text can help you copy wording from an image before conversion. Check the extracted wording and numbers against the photo before using them.
For private records, review an online service’s data handling information before uploading. Consider whether the document contains account details, identification numbers, or other information you would prefer to process on your device.
Open the prepared photo in your chosen text recognition tool. Use the clearest version available.
Select the language if that option is available. Run recognition, or select the text directly if your phone supports it.
Copy the needed passage into a separate note, document, or spreadsheet. Add a label so you know which photo it belongs to.
Compare the copied text with the image. Correct mistakes before pasting it into an email, report, or application.
For a batch of receipts, label each extracted section with its date or filename. This small step prevents a correct total from being attached to the wrong purchase.
Check the Details That Can Change the Meaning
Read extracted text with the original photo beside it. Do not rely on whether a sentence sounds plausible. A recognition error can produce a real word or a believable number that still differs from the source.
Pay close attention to decimal points, minus signs, currency symbols, and dates. A missing decimal point can turn 12.50 into 1250. Letters and digits can also be confused, especially in reference codes. Check characters such as O and 0, or I and 1, individually.
Receipts need another check: whether each amount belongs to the correct label. Recognition may separate a column of prices from its descriptions. Confirm the subtotal, tax, and final total using the image layout.
For forms, preserve the connection between a question and its answer. For notes, check names, abbreviations, and unfamiliar terms. If a word remains unclear, mark it for review instead of guessing.
Understand What Your Finished PDF Will Contain
Combining photos into a PDF alone does not make the text selectable. The pages may look like documents, but each page can still be an image. Copying text earlier gives you editable content separately. It does not automatically place that content inside the PDF.
How the Available Outputs Differ
| Output | What It Contains | Can You Copy Text? |
|---|---|---|
| PDF made from photos | Images arranged as document pages | The file itself may contain no selectable text. |
| Extracted text saved separately | Recognized wording in a note or document | Yes, after checking and correcting it. |
| PDF with an OCR text layer | Page images with recognized text stored alongside them | Usually, though recognition errors still need review. |
If the recipient needs searchable pages, choose a workflow that explicitly creates a PDF with OCR. Some viewers can recognize text themselves, but that feature does not prove the PDF contains a text layer that will work in another application.
Combine the Prepared Images Into One PDF
Open your chosen image-to-PDF converter and add the prepared photos. Check which image formats it accepts. If your phone saved a format the converter cannot read, export a compatible copy and keep the original.
Review every thumbnail before conversion. Confirm the page order, remove duplicates, and check orientation. If page size or layout settings are available, choose an option that keeps the full document visible. Avoid filling a page in a way that cuts off its edges.
Create the PDF and save it with a useful name, perhaps including the purpose and date. Open the downloaded file immediately. Check the first page, last page, and anything with small print. For a short document, review every page.
Send a PDF That Is Ready to Use
Before sharing, zoom in on the smallest text. Make sure totals, handwritten answers, and signatures remain readable. If the file is too large for its destination, try moderate compression and inspect the result again. Keep whichever version preserves the details the recipient needs.
Send the checked text separately when someone needs to paste it into another system. A brief email can include a reference number or total while the PDF supplies the visual record. If searchable text was required, test the finished file by selecting a sentence and searching for a distinctive word.
You now have a clear document to share and checked text you can reuse. Keeping those two needs in mind from the start saves retyping and helps the next person work with your photos more easily.